Back, near the very beginning of my jewelry making journey, I bought a book. It was “All Wired Up” by Mark Lareau.
Eye pins I made with 18 gauge wire. These aren’t likely to come apart … but you never know.
I wasn’t doing any silver soldering at the time. Actually, soldering wasn’t even on my radar. So I needed a secure way to join two elements together. I had been using commercially made eye pins and found that they were not always 100% reliable. You can never get them exactly and completely closed. And if you are working with a small gauge wire, they can sometimes pull open. Not everyone handles their jewelry with delicacy.
The wrapped loop came to my rescue.
Mark Lareau does a really great job of explaining the process and illustrating it. In no time at all, I had the basics of a wrapped loop down pat. But, to my way of thinking, his method wasted a lot of wire.
Back then, silver was something like $9.00 an ounce. I considered even that to be expensive. I had no idea it would reach the heights it has today. So anyway, I did all my experimenting with copper wire. And today, even copper wire is no longer cheap. I see more and more jewelry artists using brass (an alloy of copper and zinc) wire.
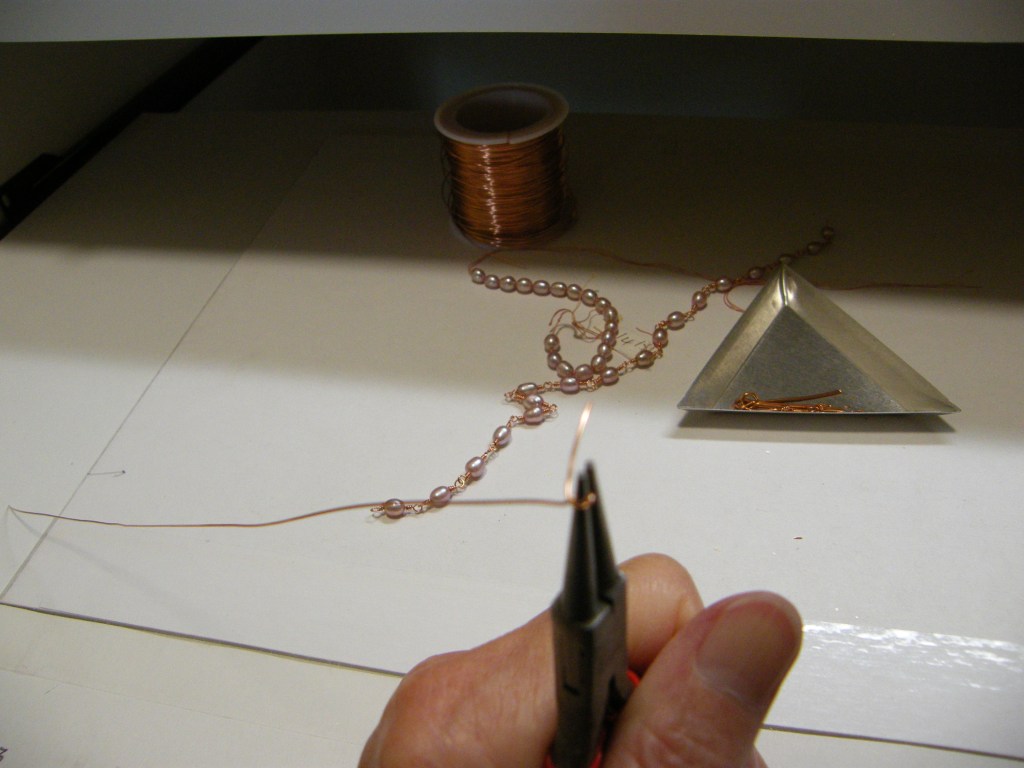
Over time, I developed a method for working with 10 inches of wire at a time. It’s enough wire to do a number of loops before cutting more off the spool. But it’s not so much that it becomes unwieldy and you hit yourself in the face with the end of the wire while wrapping it around and around. And for me, it usually works out so that I have as little waste as possible. And with the repetitive pieces, I can make adjustments as I go along. Maybe an inch or two less will work out better.

For a small loop with 24 gauge wire, I will begin with about 3/4 of an inch before the bend.
The other challenge was to figure out just how much I needed for the various gauges of wire and various sizes of loops. Having come as far as I have in my journey, it is almost second nature now. But in the beginning, it was a real enigma.
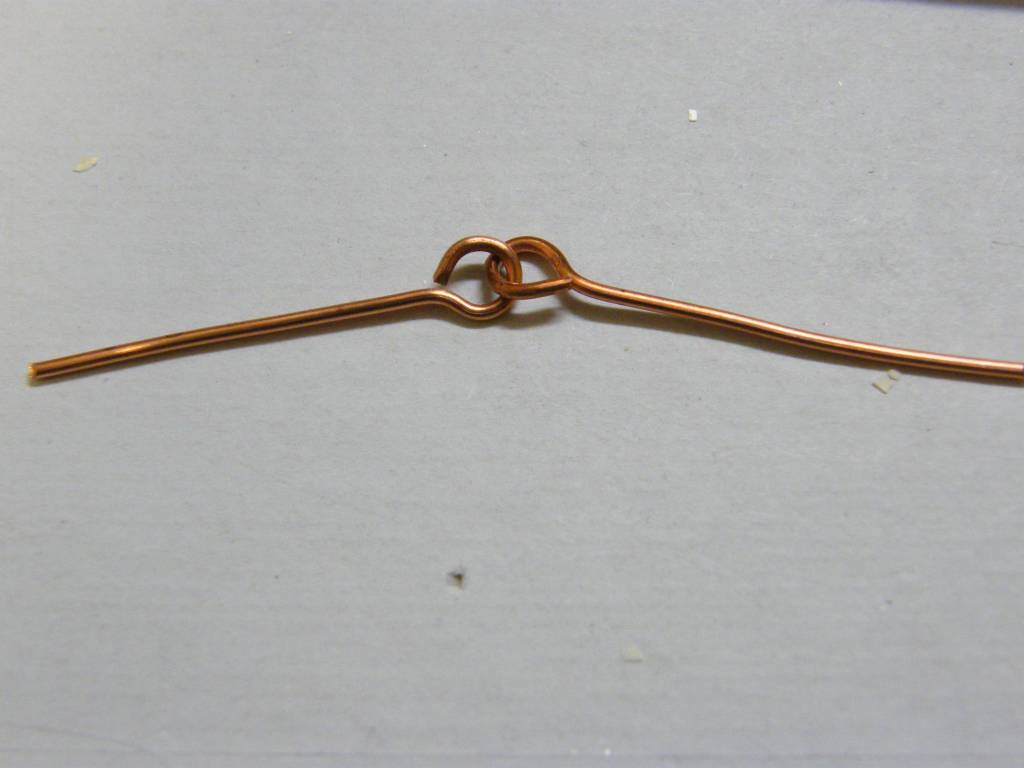
A good right angle bend is essential to making a good wrapped loop. It also helps if your wire is as straight as you can make it after taking it off the spool.
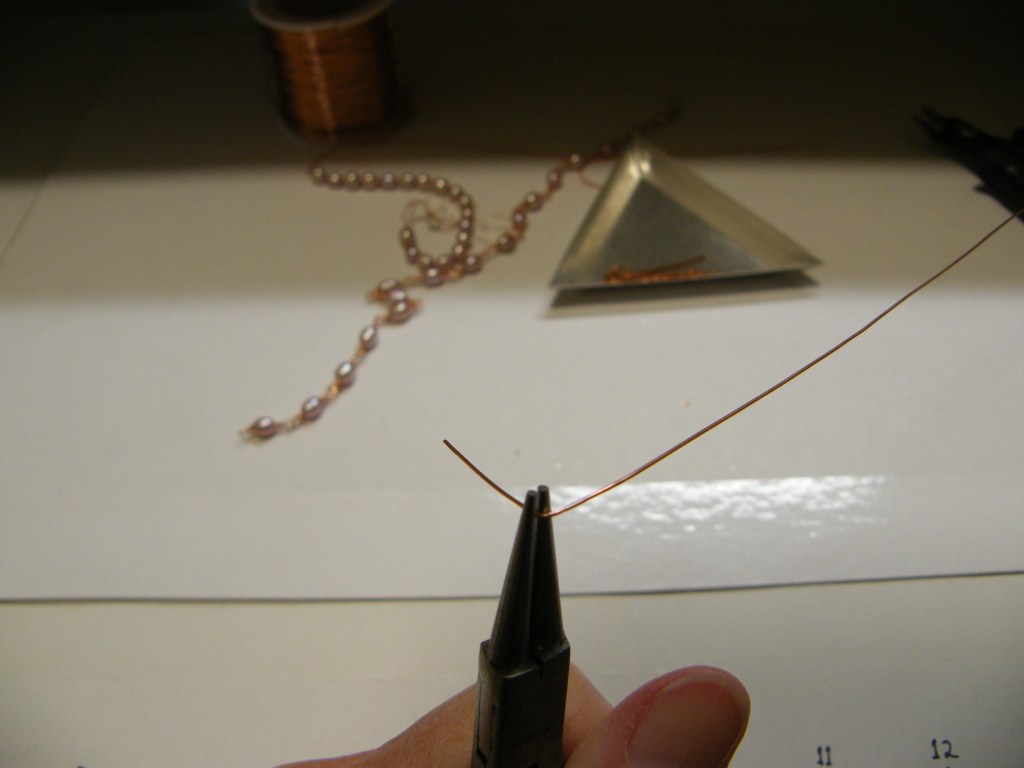
I cut a large piece of sturdy white mat board for a work surface and ruled in quarter inch markings for reference and started making attempts and keeping notes. Yes, I’ve always been this way. I got my degree in biology and that entailed a lot of lab classes and major application of the scientific method. The upshot is that these days, when I make a wrapped loop, I only waste between one and three millimeters of wire with the first wrapped loop. The second wrapped loop on any bead always uses the larger, remaining, length of wire.
You make the loop by wrapping it around one jaw of the round nose pliers.
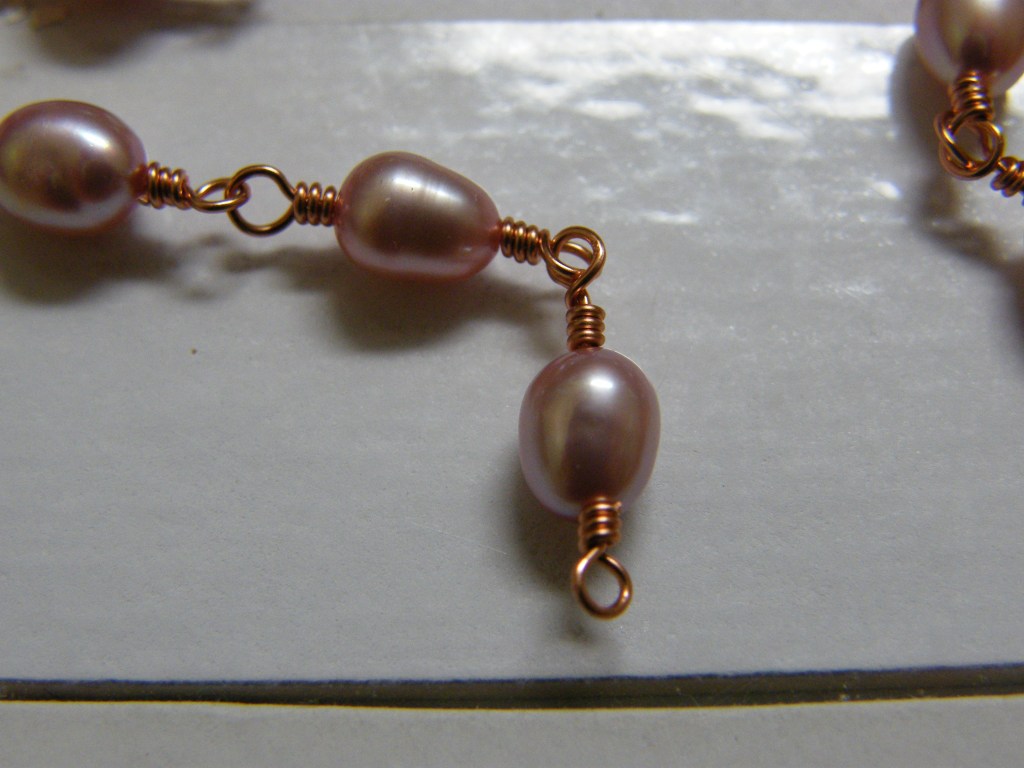
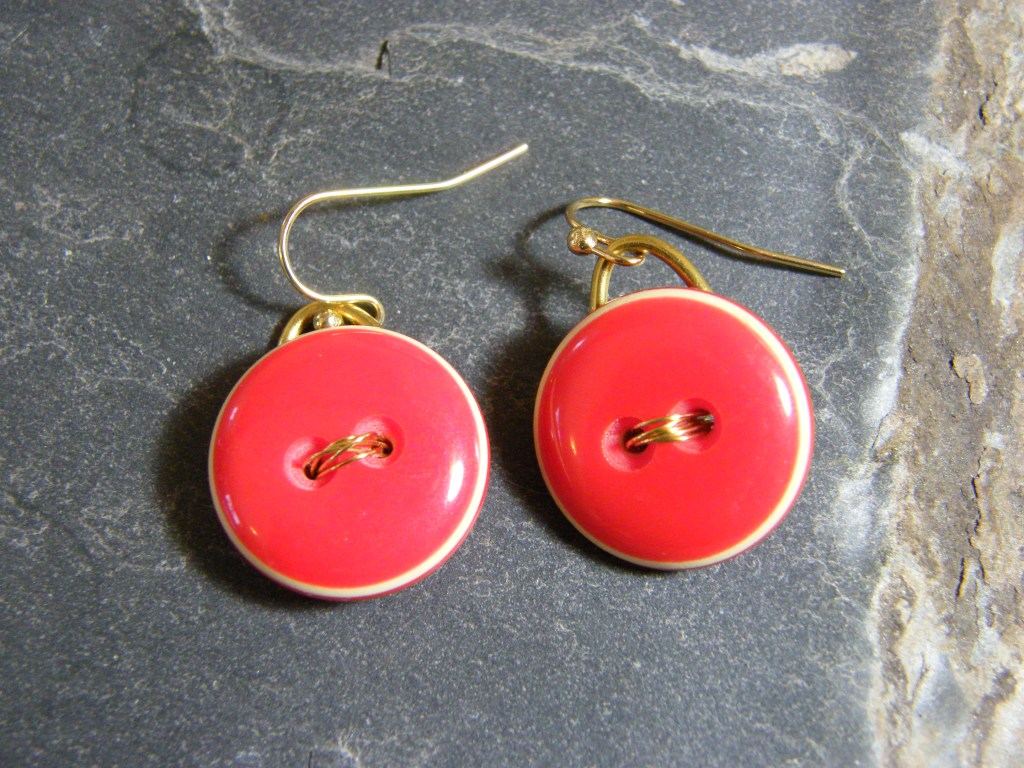
Wrapped loops allow you to make your own chain. You can use a lot of wraps as a design element. But mainly, you can feel secure that what you have connected together will remain that way.
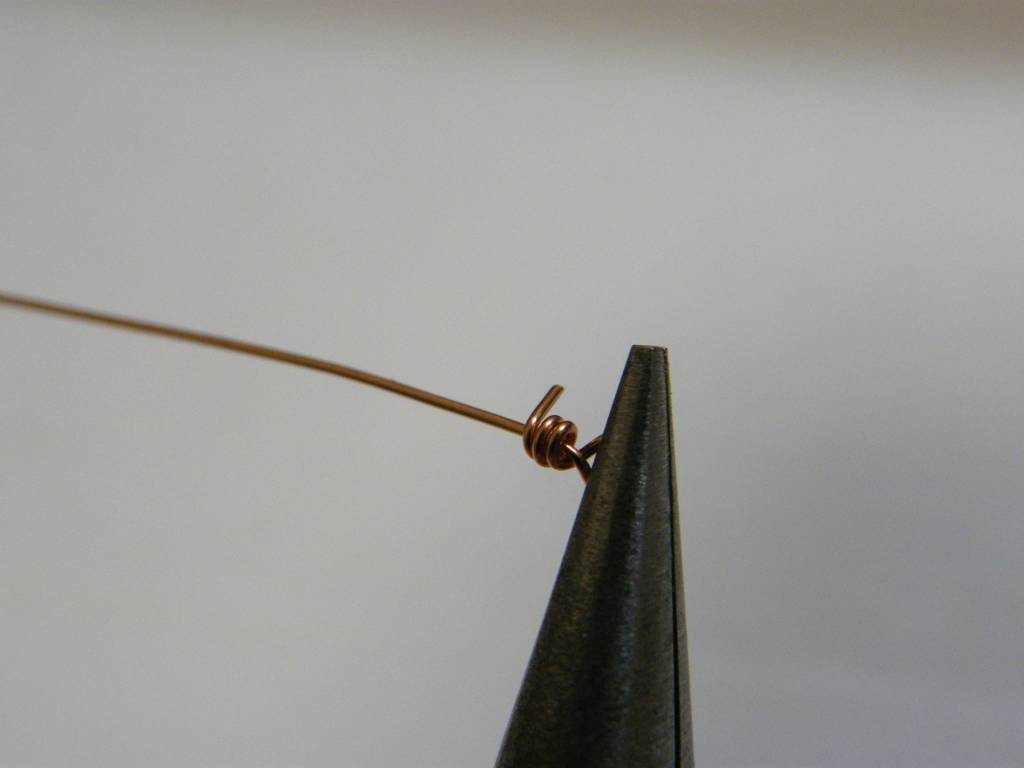
Then you make your wraps. Of course, the length you begin with is determined by how many wraps you want to make. Here, I made three wraps and have only a small nub of wire to waste.
Even if you are not into working with wire, this is one technique that will be of value to you. Learning how to make a good wrapped loop really transformed my jewelry making.
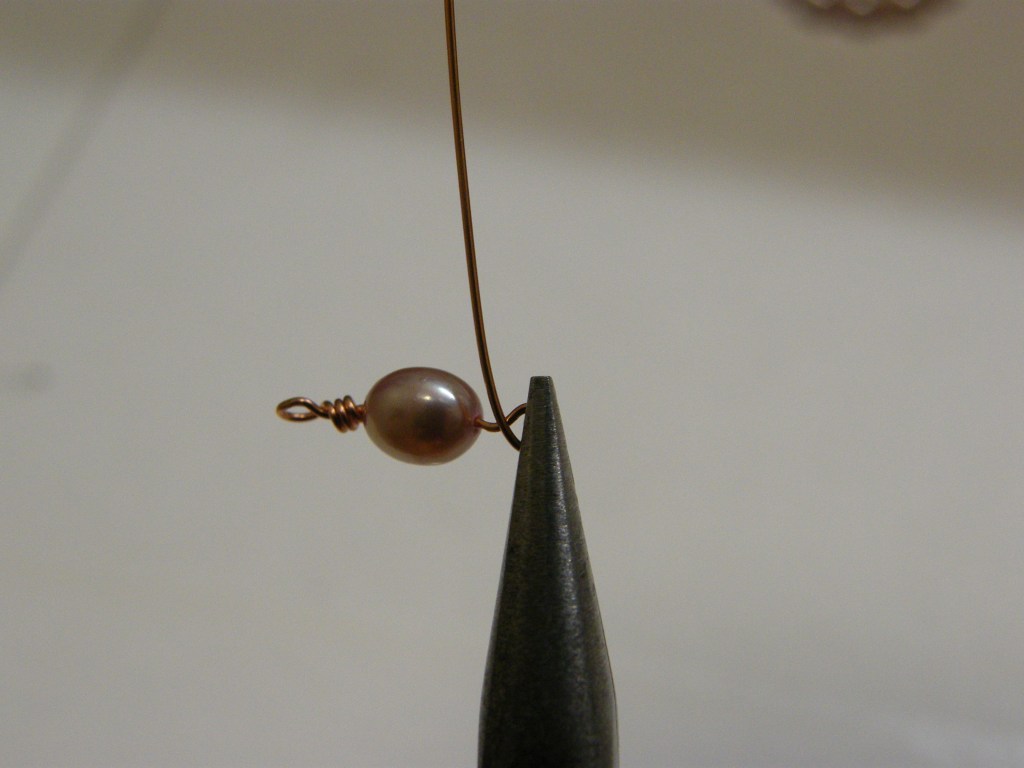
A pearl is put on the long end of the wire and another loop is made with the round nose pliers. Then using the chain nose pliers to hold it all steady, the final wraps are made.
Please visit our Etsy shop to see more of our wonderful creations. Also, we’ve added a Clearance section with some great bargains in it. You can find it at jewelrybysyzygy.etsy.com


Leave a comment